Unity Game Source Code
- Unity Games Source Code
Superhero Flying Unity Game Template with AdMob Ads Source Code
🦸♂️ Superhero Flying Unity Game Template with AdMob Ads If you are searching for a powerful and engaging Unity superhero…
Read More » - Unity Games Source Code
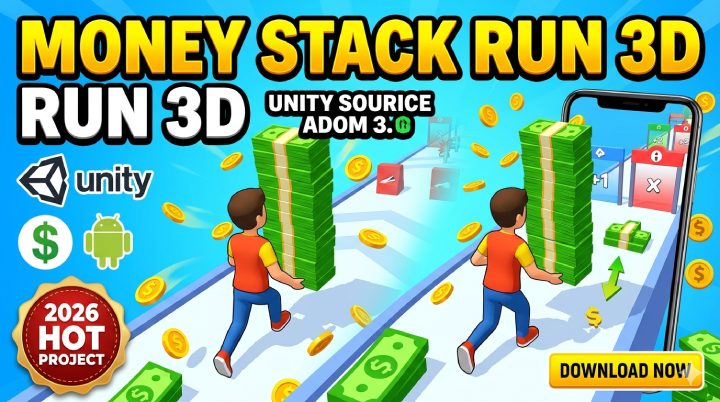
Money Stack Run 3D Unity Project with AdMob Ads Source Code
Download Money Stack Run 3D Unity project with AdMob ads integration. Complete hypercasual runner game source code with smooth gameplay,…
Read More » - Unity Games Source Code
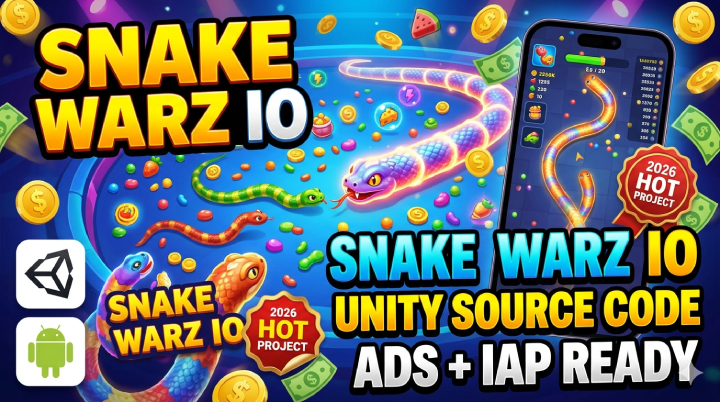
Snake Warz IO Slither Complete Game Template with AdMob Ads & IAP Source Code
🐍 Snake Warz IO Slither Complete Game Template with AdMob Ads & IAP If you are searching for a fun…
Read More » - Unity Games Source Code
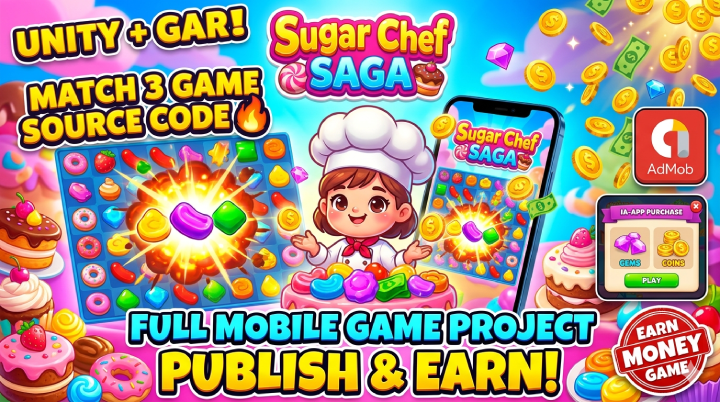
Sugar Chef Saga Match 3 Puzzle Game with AdMob Ads & IAP Source Code
Sugar Chef Saga Match 3 Puzzle Game with AdMob Ads & IAP Source Code Free Download If you are searching…
Read More » - Unity Games Source Code
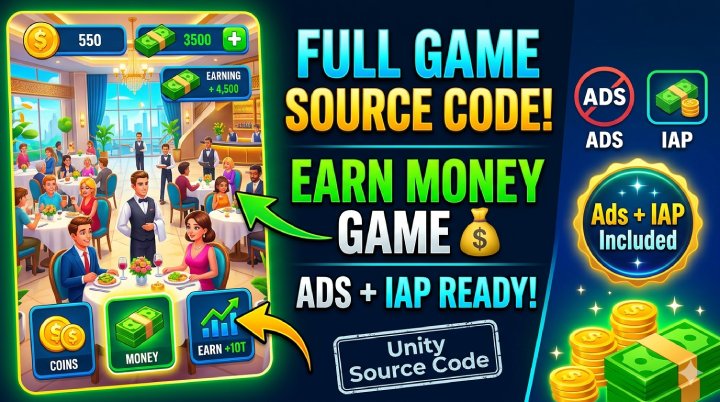
My Dream Restaurant Hotel 3D Game Unity Source Code with Ads & IAP
🍽️ My Dream Restaurant Hotel 3D Game Unity Source Code with Ads and IAP If you are looking for a…
Read More » - Unity Games Source Code
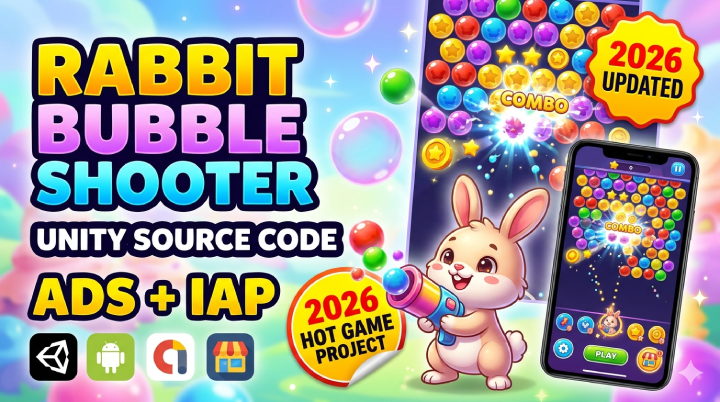
Rabbit Bubble Shooter Unity Project with Ads & IAP Source Code
Rabbit Bubble Shooter Unity Project with Ads and IAP If you are looking for a fun and addictive bubble shooter…
Read More » - Unity Games Source Code
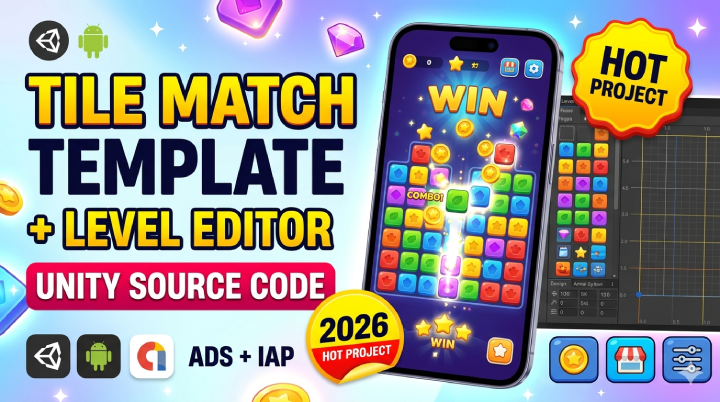
Tile Match Template + Editor Unity Game Project File with Ads & IAP
Tile Match Template + Editor Unity Game Project File With Ads IAP If you are looking for a professional match…
Read More » - Unity Games Source Code
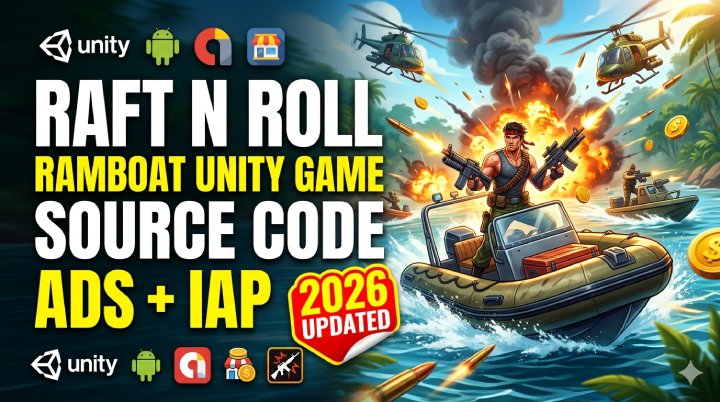
Raft N Roll – Ramboat Unity Game Source Code with AdMob Ads & IAP
Raft N Roll – Ramboat AdMob Ads With IAP If you are searching for a fun and action-packed Unity mobile…
Read More » - Unity Games Source Code
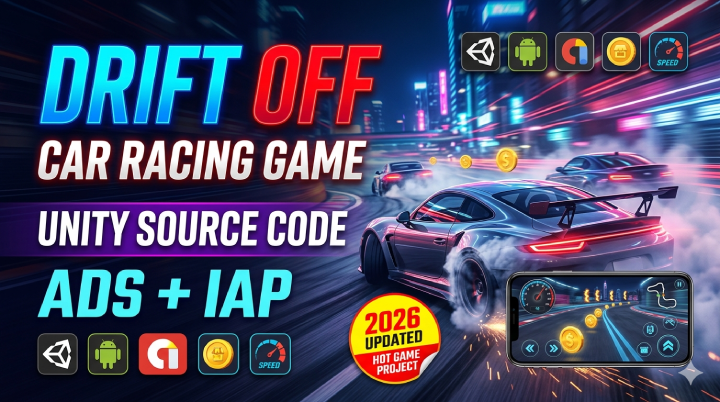
Drift Off Car Racing Game Unity Project with Ads & IAP Source Code
Drift Off – Car Racing Game Unity Project With Ads & IAP If you are looking for a professional car…
Read More » - Unity Games Source Code

FORTRESS DEFENSE Complete Unity Game with AdMob Ads & IAP Source Code
FORTRESS DEFENSE – COMPLETE UNITY GAME AdMob Ads With IAP If you are looking for a high-quality tower defense Unity…
Read More » - Unity Games Source Code
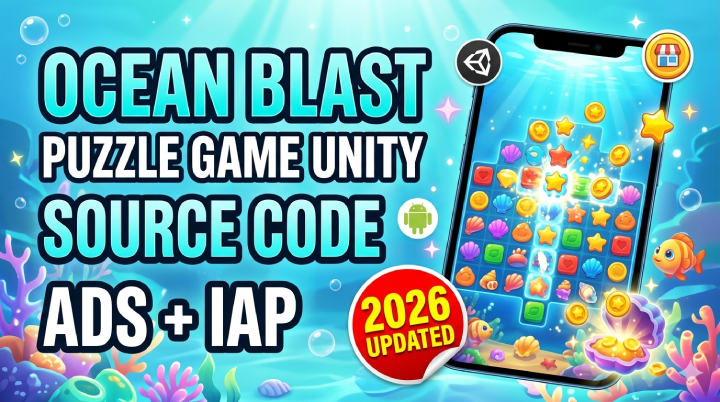
Ocean Blast Puzzle Game Unity Complete Project with AdMob Ads & IAP
Ocean Blast Puzzle Game Unity Complete Project AdMob Ads and IAP If you are searching for a ready-made Unity puzzle…
Read More »
Android Apps Source Code
-
Blogger News App v4.0.0 Source Code – Android App Using Blogger API v3
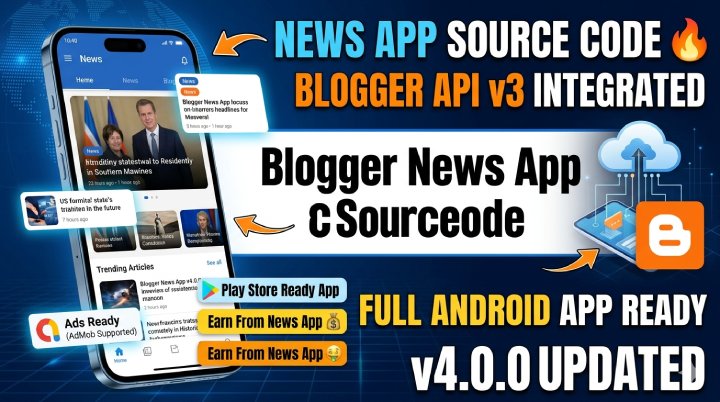
📱 Blogger News App v4.0.0 – Blogger API v3 App Source Code Overview In today’s mobile-first world, content consumption has shifted heavily…
-
Bycom VPN v2.5 – Secure and Private Android VPN Source Code
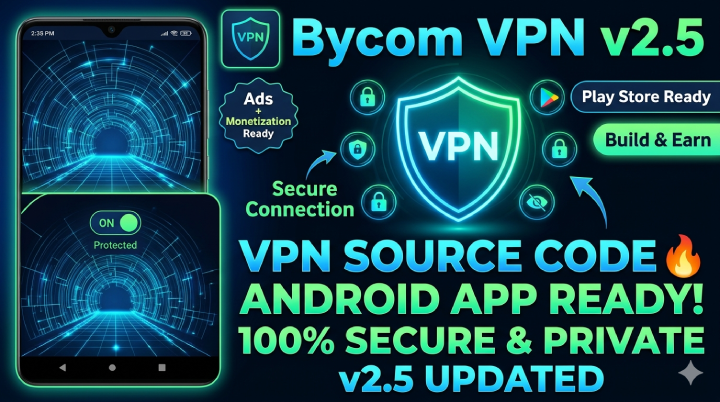
🌐 Understanding Android VPN Apps: Secure & Private Network Architecture Mobile security has become one of the most important parts of modern…
-
AllSave Pro (5 April 2026) All-in-One Video Downloader App Source Code
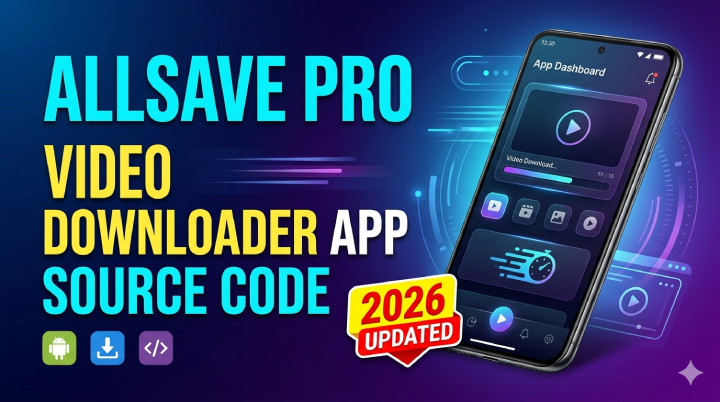
AllSave Pro (5 April 2026) – All-in-One Video Downloader App Source If you are looking for a professional video downloader Android app…
Read Blogs Post
- Blog

How to Start Game Development with No Experience (Beginner Guide 2025)
🎮 How to Start Game Development with No Experience (2025 Beginner Guide) Starting game development with zero experience might feel…
Read More » -

-

-
Nulled Scripts Free
- PHP Scripts

MatriLab v2.3 – Ultimate Matchmaking Matrimony Platform Script Free Download
MatriLab v2.3 – Ultimate Matchmaking Matrimony Platform Script Overview Online matchmaking and matrimony platforms have become increasingly popular as people…
Read More » -